 |
|
|
|
 |
 |
|
|
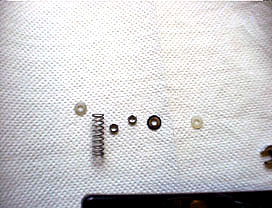
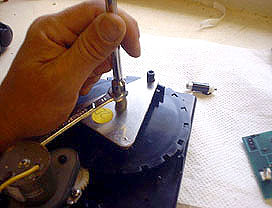
4. Carefully set the retaining parts aside (Two nylon washers, two 8/32 nuts, one metal washer and the tension spring)
|
 |
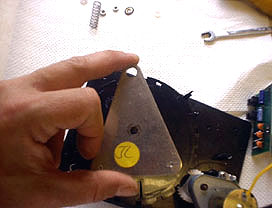 |
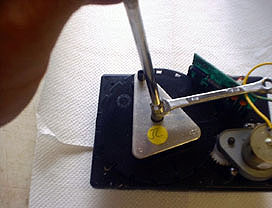
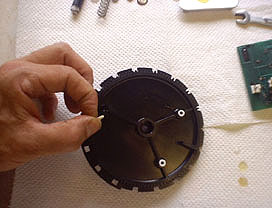
5. Remove the pressure plate from the gat body |
|
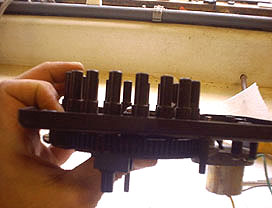
6. Turn the SV upside down (Gear side down). With the GEAR in the palm of one hand, lift up on the base and separate the GEAR from the BASE. |
 |
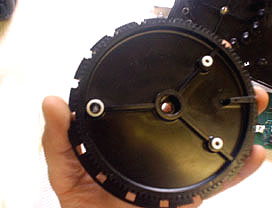 |
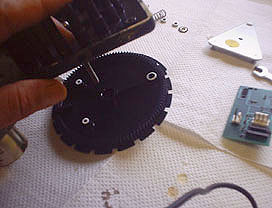
7. Notice the position of the three "O" rings. Be careful not to drop or lose them. |
|
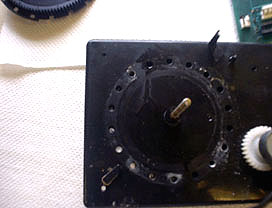
8. Clean the flat surface of the BASE with warm water using a soft cloth. Do not use abrasives. Do not scratch this surface. |
 |
 |
9. The bottom of the GEAR has one tube that has a ¼" Buna "O" ring and a modified teflon ¼" "O"ring placed on it. It also has 2 studs that hold 1/8" teflon "O" rings. NOTE: you can use new "O" rings or just use the other side of the "O" rings in your unit later when you reassemble the unit. Remove the "O" rings. If you are going to reuse the "O" rings, keep track of how they were mounted. Wipe the grease from the "O" rings. |
|
10. Reassemble the SV. Hold the gear with the bottom facing up and the base with the long screw facing down and guide together. |
 |
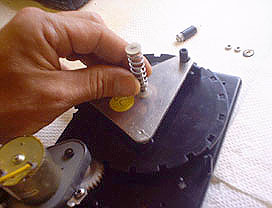 |
11.Turn the SV right side up and place the plate, shoulder washer, spring, shoulder washer, brass washer on the long screw. |
|
12.Push down on the brass washer and start the 8-32 nut. Turn the nut until ¼" of screw is exposed. Screw on the sencond 8-32 nut. |
 |
 |
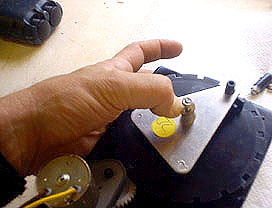
13.Use two wrenches to tighten the nuts against each other. This locks the nuts so that they do not unscrew. |
|
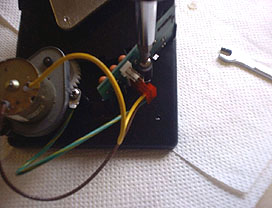
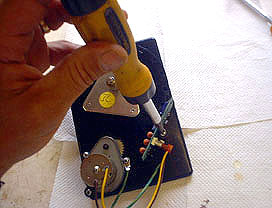
14.Put the printed circuit board back in place and screw in the POST. Remount the SV in the unit. See Rotary Selector Valve Mounting instructions. |
 |